
If you’re one of the usual readers around these parts, here’s something a little bit different! Partly for posterity and partly as a reference so that I have it for some convention panels and workshops that I’ll be doing in the future, here’s a primer on my miniature painting method and, specifically, how I recently tackled some angry, angry lads. Here I’ll try and show on a beginner level how to go from gray plastic to a completed, finished model.

So, let’s take this from the top: What is Miniature Painting?
If you’re familiar with Warhammer 40000, Dungeons and Dragons, other tabletop games, or ever seen neat historical models in a museum display festooned with little dudes, you’ve probably at some point seen the work of a miniature painter.
Simply put, miniature painting is taking a plastic model or miniature and transforming your neat little dude from gray plastic all the way to a completed model.
Why Paint Miniatures?
People paint miniatures for a whole variety of different reasons. With Warhammer 40000 and Dungeons and Dragons, for example, painted miniatures help players of the game immerse themselves more fully in the game and in the story that they, game masters and other players are trying to tell.
Sometimes artists also paint these strictly for the sake of painting them or as an art form, and often they are useful tools in things like education or historical re-enactment as well. I paint miniatures in large part because when theyre done they become magical little objects of power – they’re memory touchstones of games I played, of impossibly good or bad dice rolls, and of collaborative storytelling.

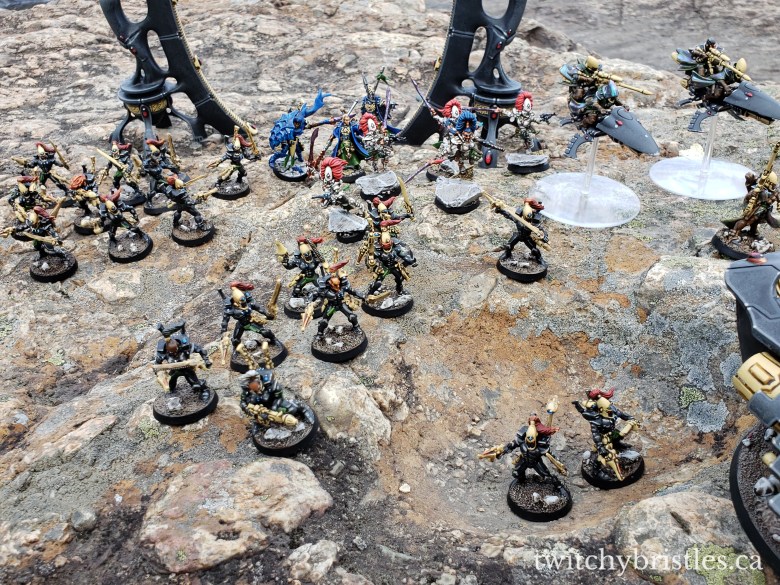
BLOOD FOR THE BLOOD GOD – The Khorne Berzerker
The phrase “Blood for the Blood God” is a phrase from the Warhammer 40K universe that comes up so often that sometimes it gets dropped into discussion or memes not remotely even connected to Warhammer or tabletop games. (show Moo Deng memes and credit disgustingbrother on Instagram)
This is the rallying cry of the Khorne Berzerker, servants of one of the Warhammer 40K universe’s four primary Chaos gods. They are angry little dudes and their deity is the god of anger, violence and war. They are armed with a spinning chainsword – a cross between a chainsaw and a sword or axe – and a bolt pistol. They are also fantastic models to start with for training purposes, especially if you can get a hold of a bunch of the older versions.

What You’ll Need (the Basics) :
Building your little dude will require sprue cutters which you can buy from most hobby shops or craft retailers, or even from hardware stores. I also recommend sand paper and a sharp exacto knife or box cutter to scrape away any mold lines or excess plastic during assembly, and glue to put the pieces together. You can base your model with sand and rocks from your dollar store or driveway.
To paint your little dude, you’re going to need some nice thick brushes for base coats and drybrushing, and some much smaller, thinner brushes for more precise details like highlights, eyes, and metal trim.
You’ll want to have plenty of water on hand, and if you don’t have a dedicated hobby space you’ll want to put down newspaper, cardboard, or parchment paper over your work area to catch any paint that doesn’t quite make it to your model.
To prime your model, you’ll either want to have a brush-on primer, an airbrush primer, or, what I use most frequently, just a regular rattle can of matte black, matte gray or matte white from your local Home Hardware or any other hardware store.
Its always a good idea to also have paper towels on hand if you have some to spare, and for some of the techniques we’ll be talking about today you’ll also want to have kitchen sponges, which you can find at your local dollar store, or sponge brushes that you can also find at the dollar store or at most craft retailers like Michael’s.
What You’ll Need (paint):
First, there’s no ‘right’ color – there are lots of different brands that make miniature paints that are fantastic for lots of different purposes and that produce lots of different effects, and I always suggest experimenting for yourselves after a little practice. With miniature painting I find you learn a lot more from doing than second-hand.
For our purposes, I’ll go over options of paints from two companies – Games Workshop, based in the United Kingdom, and Vallejo, based in Spain. When it comes to washes I’m just going to mention Games Workshops because theyre pretty readily available at retailers and I find especially early on they get great results. We’re going to break the options down by color, and we’ll go in order of what were going to apply to our little dudes today:
Red:
Games Workshop: Khorne Red, Mephiston Red, Evil Sunz Scarlet
Vallejo: Red, Carmine Red, Vermilion Red
Red Wash: Carroburg Crimson or Reikland Fleshshade
Brown and Bone:
Games Workshop: Rhinox Hide and Skrag Brown (blend as needed), Ushabti Bone, Screaming Skull
Vallejo: Flat Earth, Gold Brown, Buff, Ivory or Off-White
Brown Wash: Agrax Earthshade (Liquid Talent)
Metallics:
Games Workshop: Abaddon Black, Leadbelcher, Runefang Steel, Retributor Gold (recommended)
Vallejo: Black, Gunmetal Grey, Silver, Gold (various, including alcohol-based)
Brown Wash: Agrax Earthshade
Green Wash for Bolters and Chains (optional): Biel-Tan Green and Nuln Oil
Red Wash for Gold Trim (optional): Reikland Fleshshade
Eyes / Lenses:
Games Workshop: Abaddon Black, Caliban Green, Warpstone Glow (optional), Moot Green, Corax White
Vallejo: Black, Olive Green, Uniform Green, Lime Green, White.
Flesh (Optional bc flesh is weak):
Games Workshop: Bugmans Glow, Rakarth Flesh, w/ Averland Sunset and Yriel Yellow for Eyes
Vallejo: (Havent found a good Chaos/zombie flesh equivalent yet)
Red Wash: Reikland Fleshshade
Gold Wash (optional): Cassandora Yellow
The most important rule painting miniatures: The most important thing to remember about these colors is that when you’re painting your own little dude, the colors can be anything you want them to be – if there’s any color on the guide that you don’t vibe with feel free to experiment with your own paints and different colors. Like Bob Ross always says – it’s your world, you’re creator, and you can do anything on your canvas.

We’ll move on to the actual painting part in Part 2, which I’ll link below. Also, a big thank you to SmashleyDraws for the thumbnail and some of the graphics used in this tutorial!

Very comprehensive Mick
LikeLiked by 1 person
Thanks! It’s a start, lol. Most of the fine-detail stuff will be in the next segment.
LikeLiked by 1 person